How to Make Your Own Wedding Dress: A Comprehensive Guide
How to Make Your Own Wedding Dress: A Comprehensive Guide
Why Make Your Own Wedding Dress?
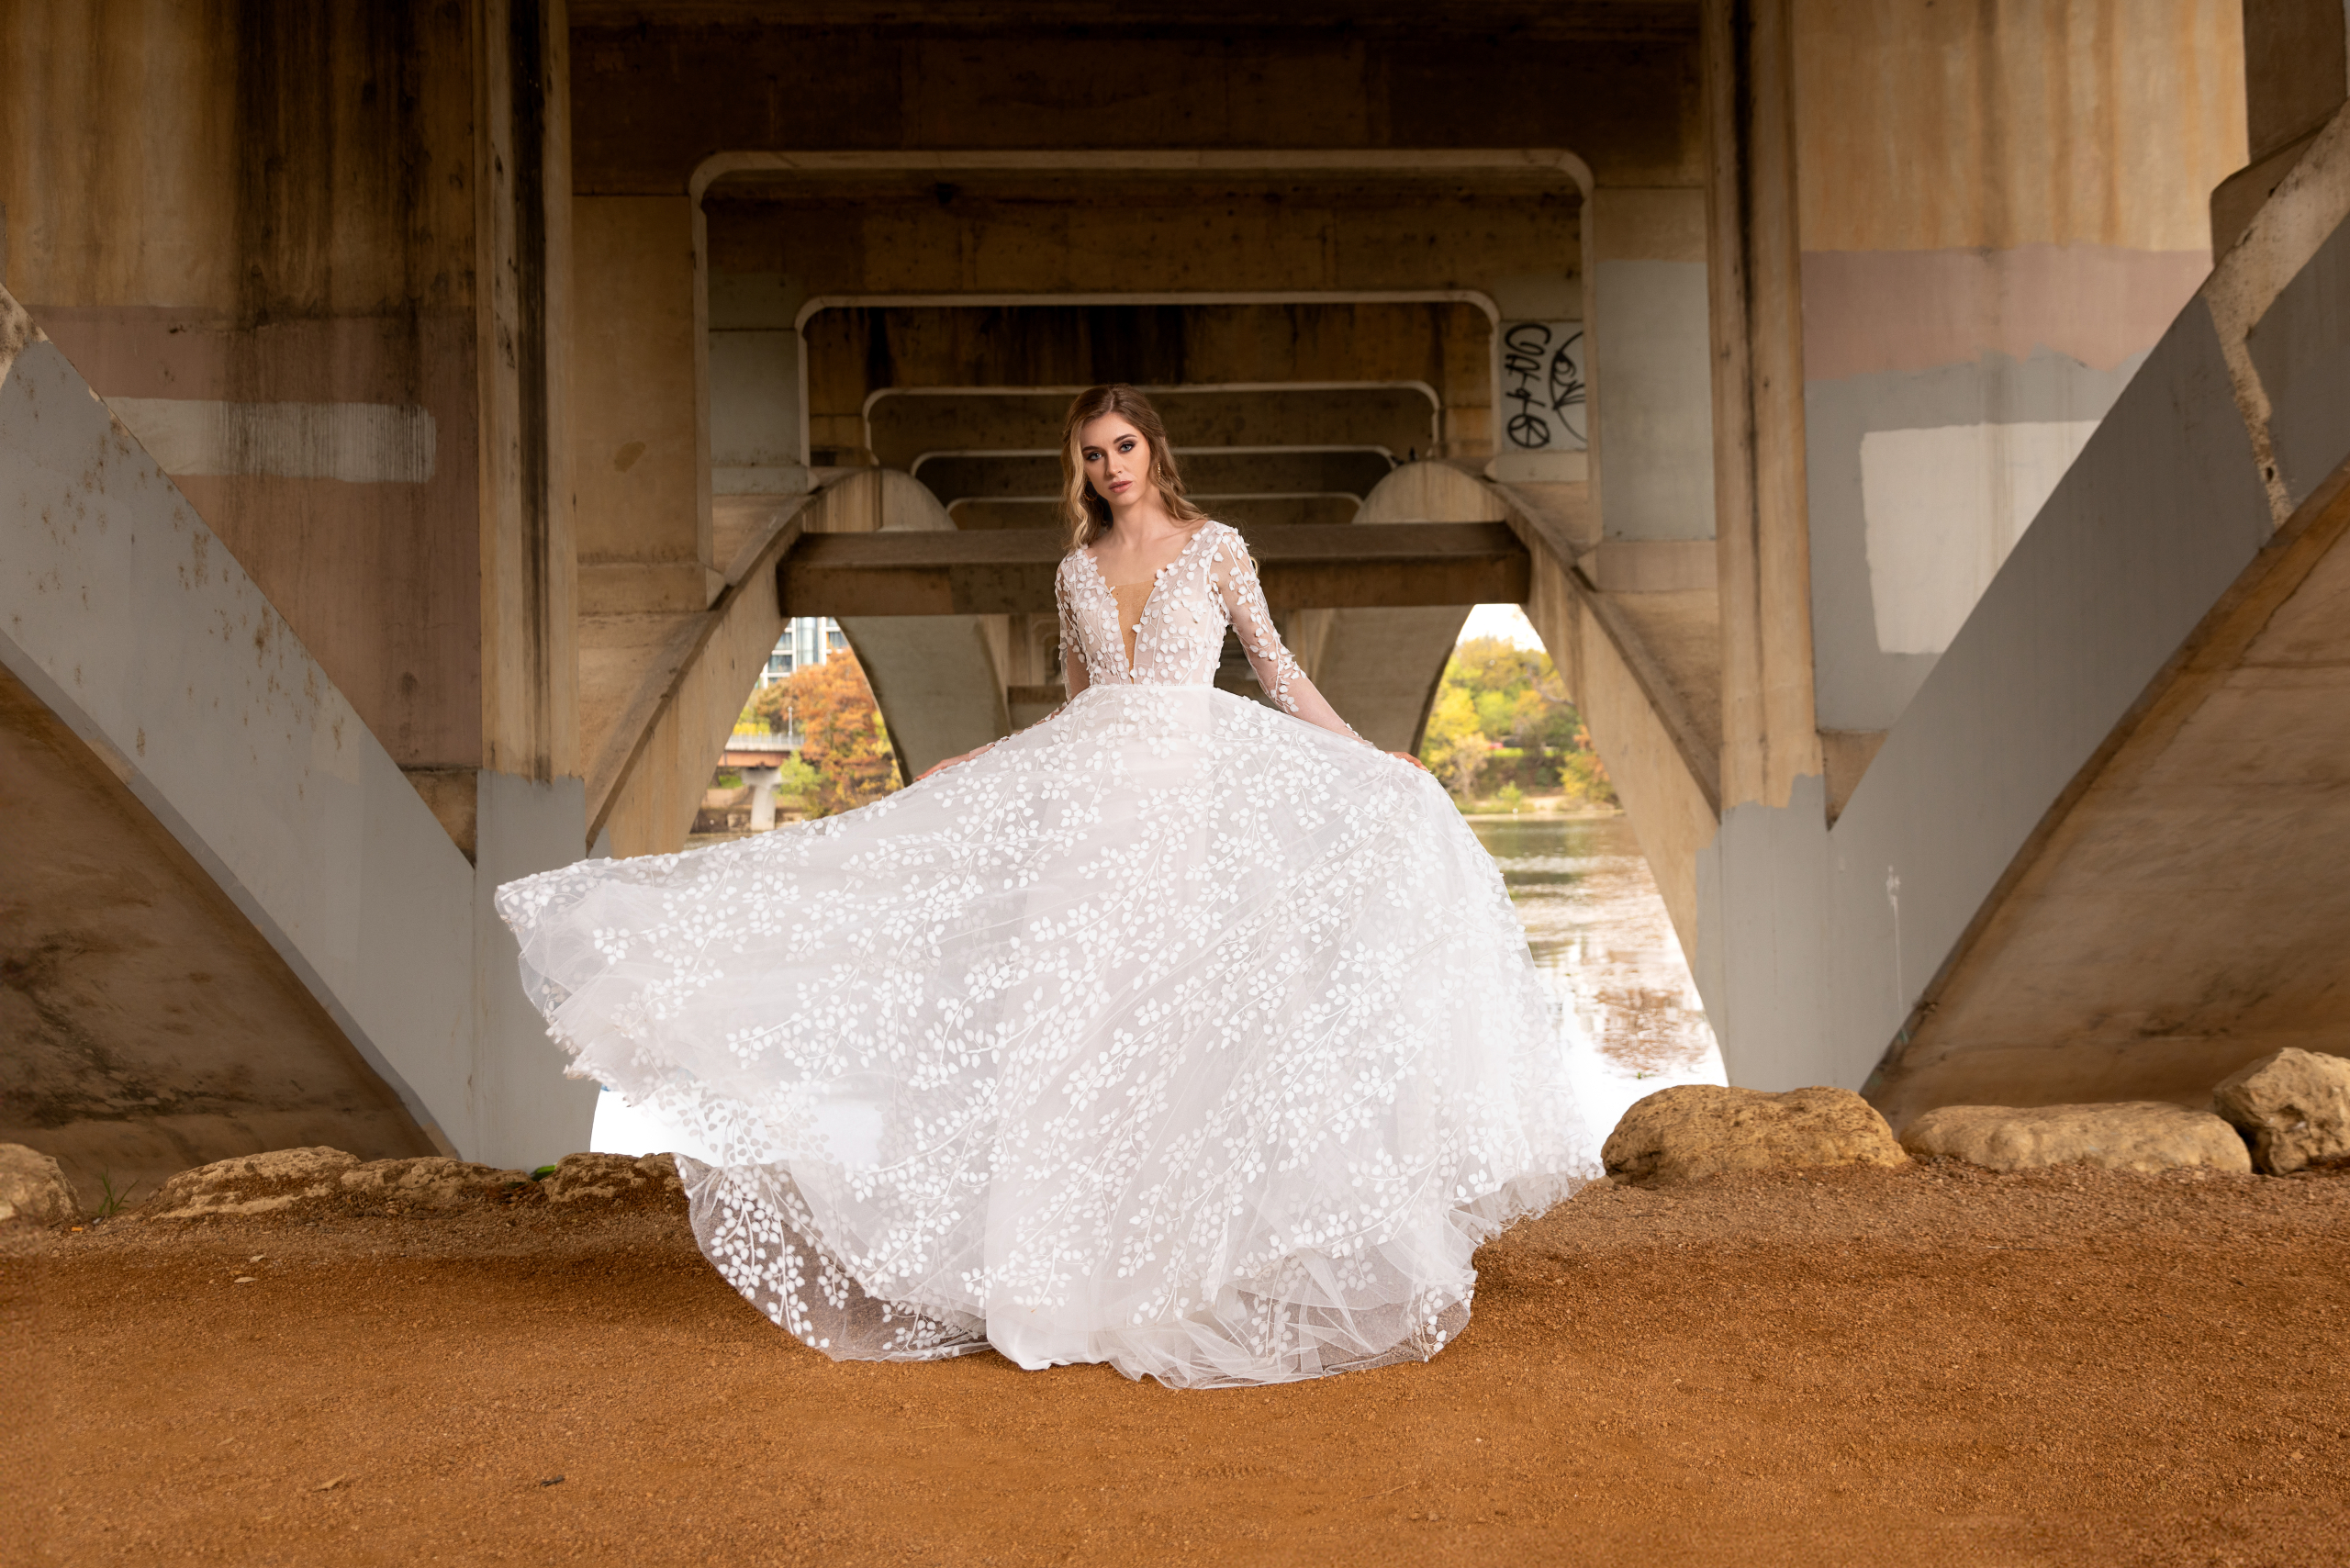
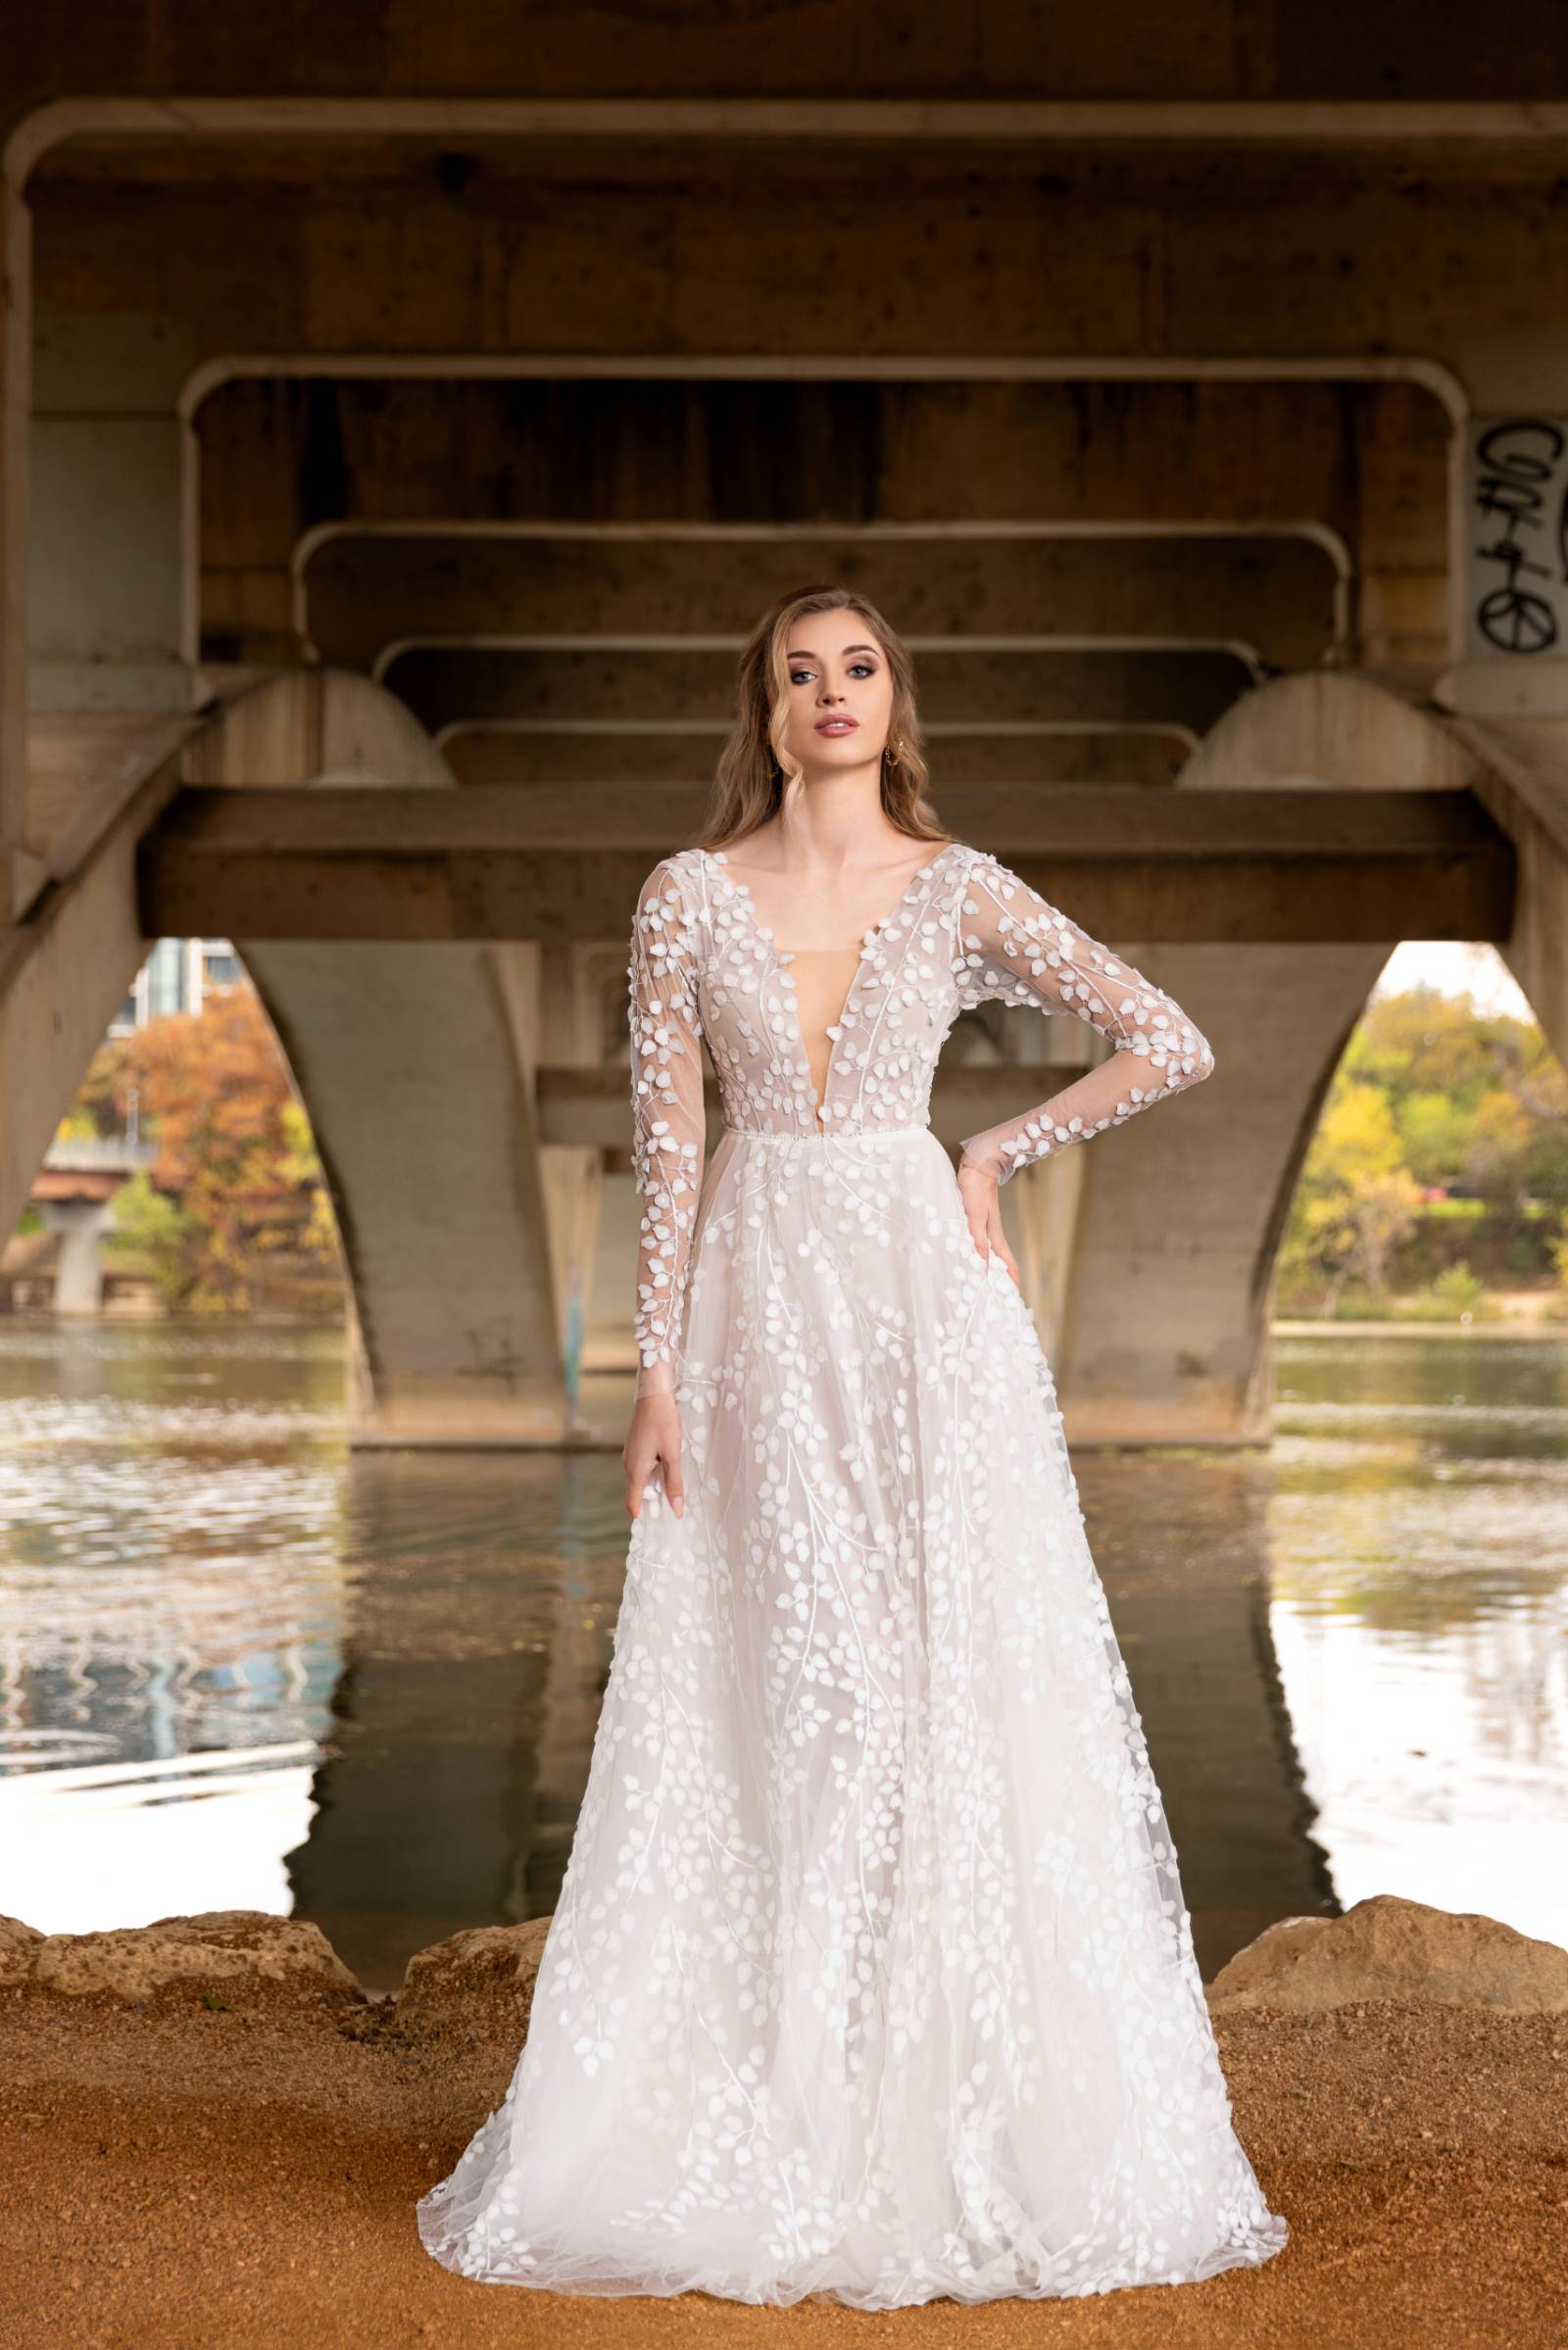
There’s something undeniably special about creating a wedding dress that’s entirely your own. Not only does it allow you to design a gown that fits your style, but it also adds a personal touch to your big day. Whether you’re envisioning a vintage wedding dress design or a modern couture piece, making your own dress gives you complete control over every detail. Plus, it’s a fantastic way to stay within budget. With the right planning, you can create a beautiful, personalized bridal attire that’s both affordable and high-quality. Let’s dive into the essential steps to make your DIY wedding gown dreams a reality.Step 1: Designing Your Own Bridal Wear
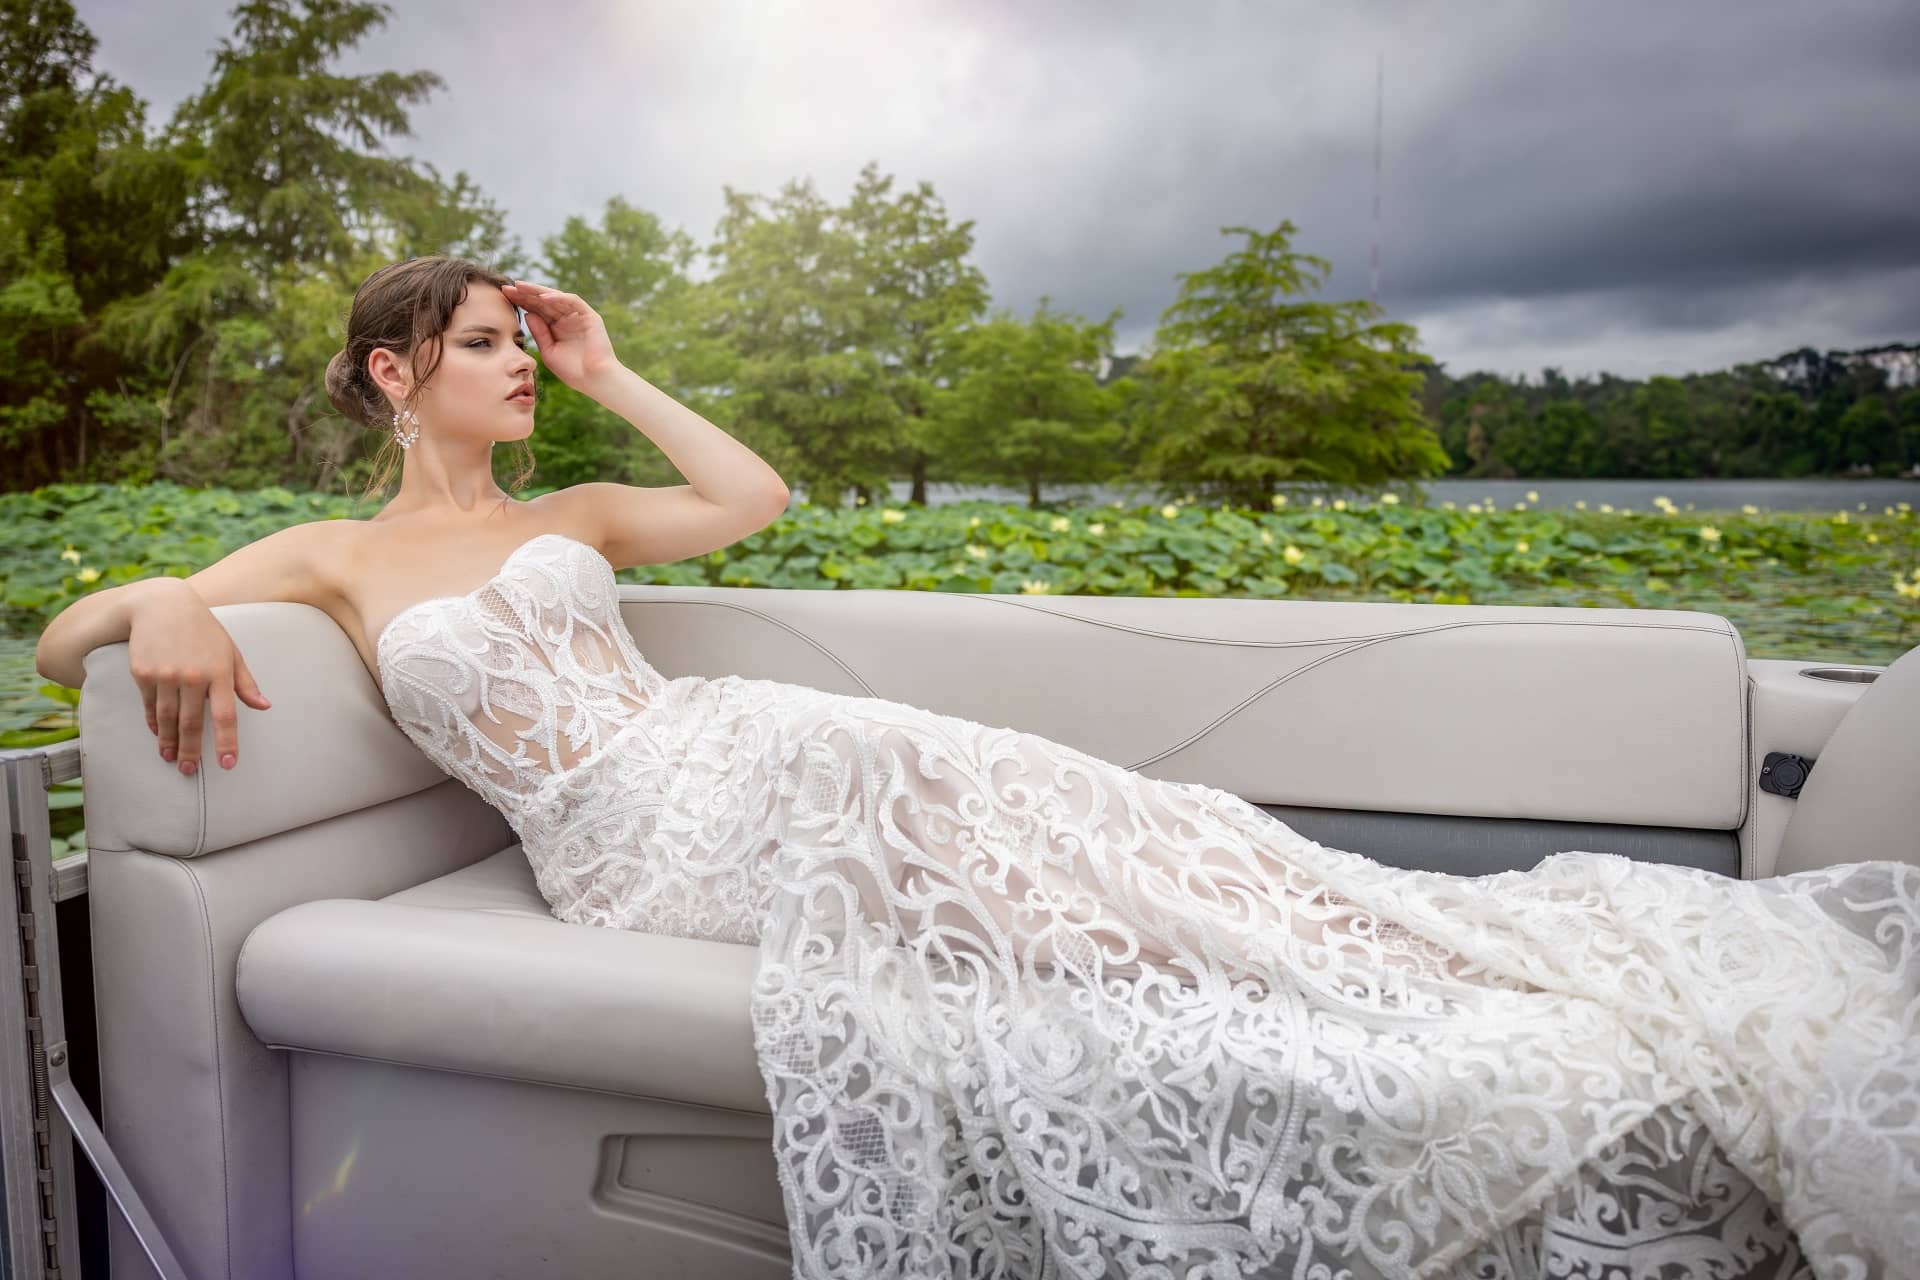
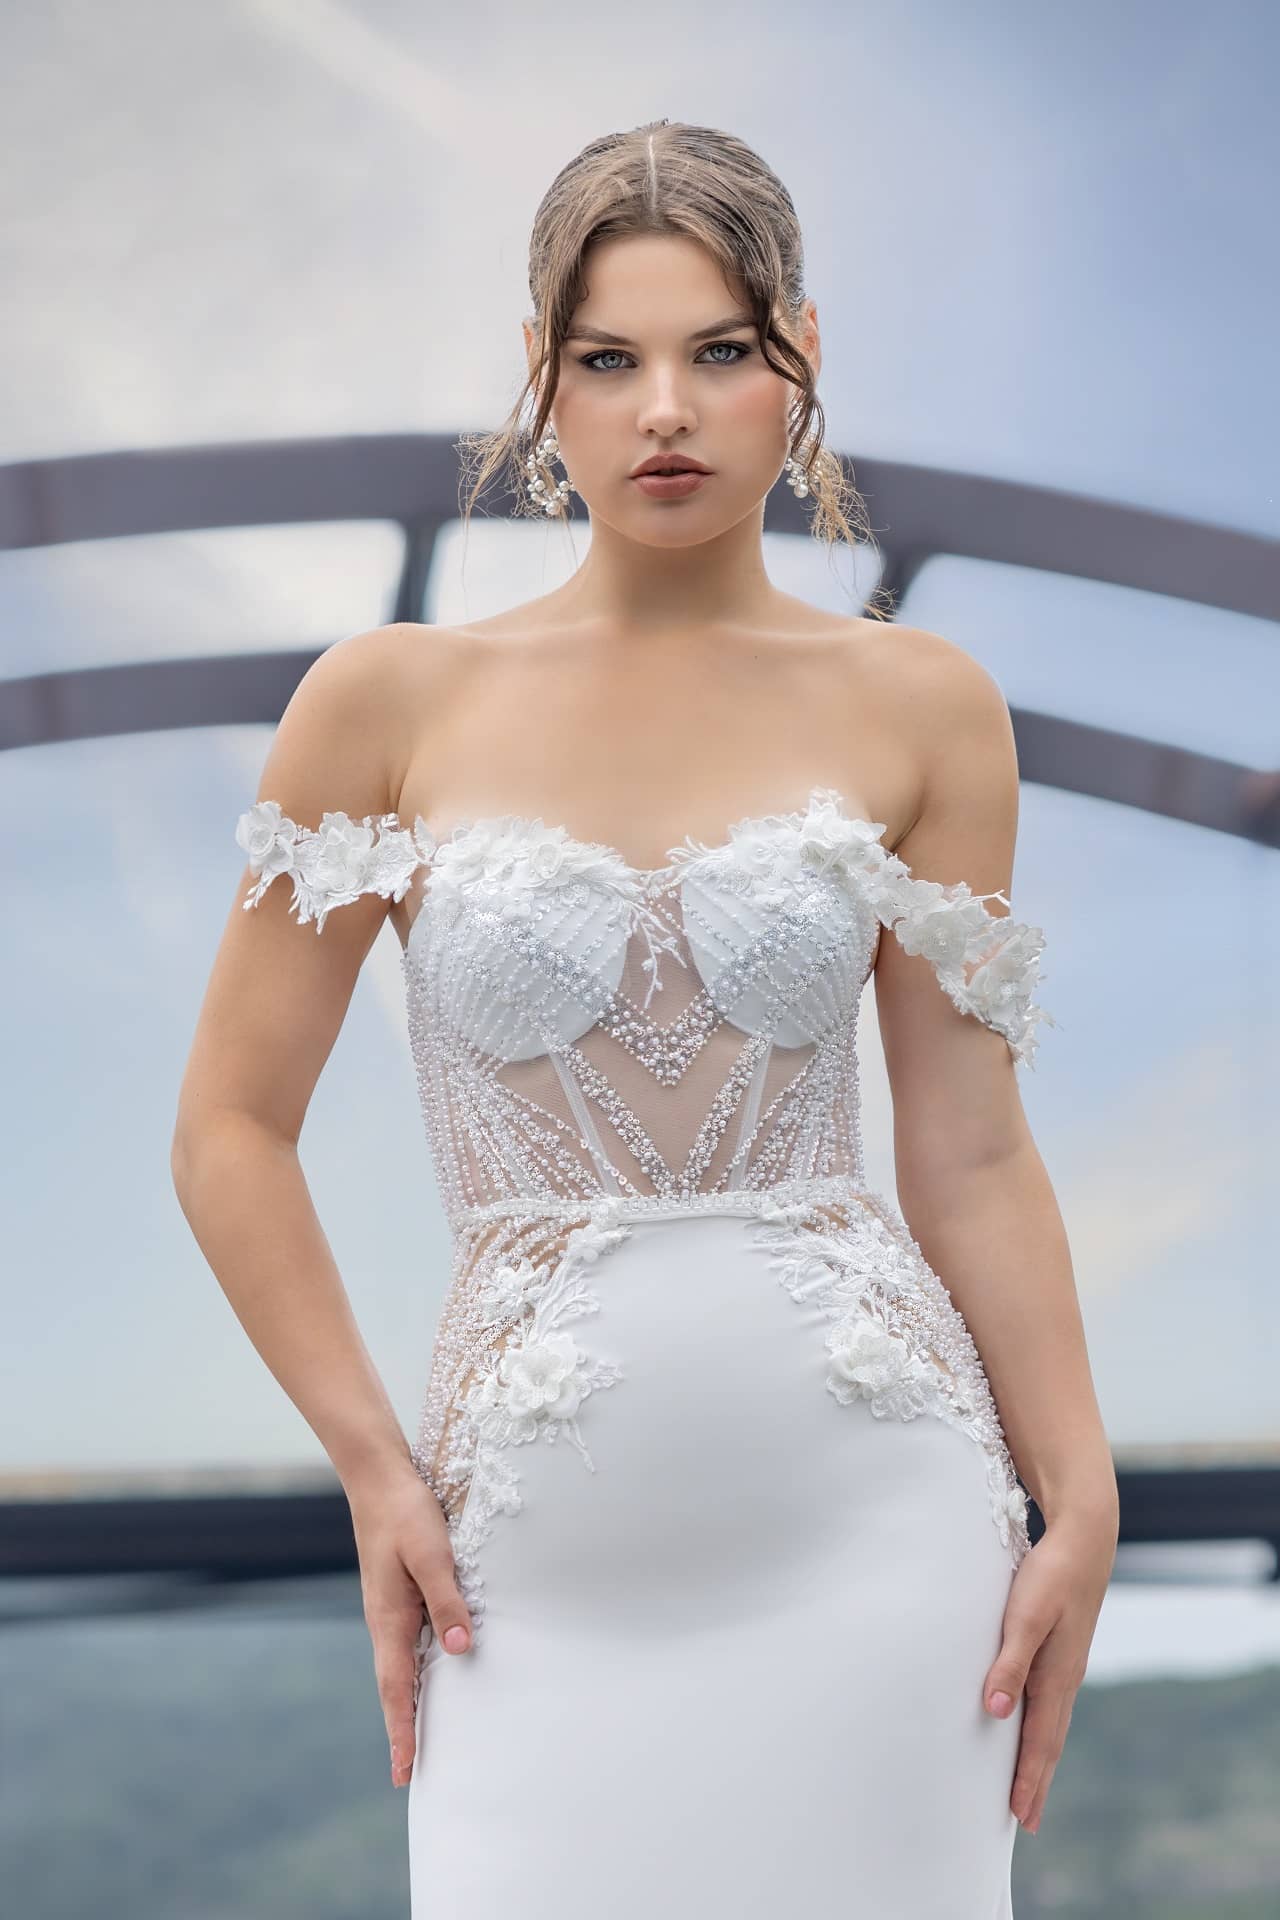
Before you start cutting fabric or threading your needle, you need a clear vision of your wedding dress design. Take time to sketch out ideas or create a mood board with styles you love. Consider the following: Silhouette: Do you want an A-line, ball gown, or something more fitted like a mermaid style? Fabric Selection for Dresses: Will you go for something classic like silk or satin, or are you leaning toward more unique materials like lace or tulle? Embellishments: Think about the details, such as beading, embroidery, or lace overlays. These wedding dress embellishments can transform a simple design into something extraordinary. Remember, designing your own bridal wear means you can mix and match elements from different dresses, making your final dress truly one-of-a-kind.Step 2: Choosing the Right Wedding Dress Patterns
Once you’ve settled on a design, it’s time to pick a wedding dress pattern. There are countless wedding dress patterns available, ranging from simple and straightforward to more complex designs. For beginners, it’s advisable to choose a pattern that matches your sewing skill level. When selecting a dress pattern, ensure it aligns with your body measurements and preferred silhouette. If you’re going for a vintage wedding dress design, look for patterns inspired by specific eras, like the 1920s or 1950s.Step 3: Fabric Shopping and Selection
Fabric shopping is one of the most exciting parts of making your own wedding dress. The fabric you choose will define the overall look and feel of your gown, so it’s important to select wisely. Here are a few tips: Texture and Weight: Heavier fabrics like satin and silk are ideal for structured gowns, while lighter materials like chiffon and organza are perfect for flowy designs. Color: While white and ivory are traditional, don’t shy away from exploring off-white shades or even soft pastels. Lace: If you’re planning to add lace, consider its quality and how it complements your fabric’s weight and texture. Also, keep in mind tips for sewing lace dresses, as this delicate material requires special care.Step 4: Mastering Essential Sewing Techniques
If you’re new to sewing or haven’t tackled a project this big before, don’t worry. Start by familiarizing yourself with sewing techniques for beginners. Practice on smaller bridal sewing projects before diving into your wedding gown. Here are a few key skills you’ll need: Basic Seams: Learn how to sew straight and curved seams accurately. Darts and Pleats: These are essential for shaping your dress to fit your body perfectly. Hemming: Mastering a clean hemline is crucial, especially for the bottom of your gown. Zippers and Buttons: These can be tricky, but with practice, you’ll be able to install them seamlessly. If you’re feeling adventurous, you can explore couture sewing methods, which involve more advanced techniques like hand stitching, intricate embellishments, and creating custom linings.Step 5: Assembling the Dress
Once you’ve gathered your materials and honed your skills, it’s time to start assembling your dress. Follow your wedding dress pattern carefully, and don’t rush the process. Sewing a wedding gown is a marathon, not a sprint!Step 6: Making Wedding Dress Alterations
It’s almost inevitable that your dress will require some adjustments along the way. Wedding dress alterations ensure that your gown fits like a glove. Here’s what to keep in mind: Fit: Continuously try on your dress as you sew to ensure the fit is just right. Length: Make sure the hemline is appropriate for your shoes and venue. Details: Adjust the placement of embellishments, lace, or other decorative elements as needed.Step 7: Adding the Final Touches
Now that your dress is assembled, it’s time for the fun part: styling your custom gown. Add those final wedding dress embellishments that make your gown sparkle. This might include: Handmade Wedding Accessories: Consider creating or adding a custom veil, belt, or hairpiece. Personalized Details: Add embroidery or initials for a personal touch. Final Pressing: Iron your dress carefully, paying attention to any delicate fabrics like lace or chiffon.Step 8: Preparing for the Big Day
With your dress completed, give yourself a pat on the back—you’ve made your own wedding dress! However, there’s one final task: ensuring your dress is wedding-day ready. Store it in a safe place, free from dust and moisture. A garment bag is ideal for protecting your hard work.Why DIY Wedding Gowns Are Worth It
Creating your own wedding dress is not just about saving money; it’s about crafting a gown that tells your story. Each stitch, fabric choice, and embellishment reflects your personality and style. Plus, the experience of designing and sewing your dress can be incredibly rewarding, offering a sense of accomplishment that you’ll cherish long after your wedding day. Apologies for that oversight! Let me add a section with FAQs related to making your own wedding dress.FAQs
Is it difficult to make your own wedding dress?
It depends on your sewing experience and the complexity of the design. If you’re a beginner, starting with a simple pattern and gradually working up to more complex designs can make the process manageable. With patience and practice, even those with limited sewing experience can create a beautiful gown.
How much time does it take to sew a wedding gown?
The time required can vary significantly depending on the dress’s complexity, your skill level, and the amount of time you can dedicate each day. On average, expect to spend anywhere from a few weeks to several months on the project. Planning ahead is crucial, so you’re not rushed as the wedding day approaches.
What if I don't have a clear vision for my dress?
The best fabric depends on the style of dress you’re making. Satin, silk, chiffon, and lace are popular choices. Consider the drape, weight, and how the fabric feels against your skin. Also, think about the season and venue of your wedding when choosing your fabric.
Can I make a wedding dress if I'm a beginner at sewing?
Yes, beginners can make a wedding dress, but it’s wise to start with simpler patterns and fabrics that are easier to work with. Consider taking a sewing class or practicing with smaller projects to build your confidence before tackling your gown.
How do I choose the right wedding dress pattern?
Choose a pattern that matches your sewing skill level and fits the style you’re envisioning. Look for patterns that provide clear instructions and come with recommendations for suitable fabrics. If you’re unsure, start with a pattern that’s rated for beginners or intermediate sewers.
What should I keep in mind when sewing with lace?
Lace can be delicate and tricky to sew. Use a sharp needle, and consider using a stabilizer to prevent the lace from stretching or shifting. When cutting lace, be sure to line up any patterns or motifs for a seamless look. Also, practice sewing lace on scraps before working on your dress.
How can I make sure my wedding dress fits perfectly?
Regular fittings are key. Continuously try on your dress as you progress to ensure a good fit. Pay close attention to areas like the bust, waist, and hips. Don’t be afraid to make wedding dress alterations as you go to achieve the perfect fit.
What are some affordable options for making a wedding dress?
To keep costs down, look for fabric sales, use coupons, or consider upcycling materials from other dresses or garments. Choosing a simpler design and limiting expensive embellishments can also help you stay within budget while still creating a stunning gown.
Can I customize my wedding dress with handmade accessories?
Absolutely! Adding handmade wedding accessories like a custom veil, belt, or even jewelry can elevate your bridal look. These accessories can be personalized to match your gown perfectly and add a unique touch to your ensemble.
What are the benefits of making my own wedding dress?
Making your own wedding dress allows for complete customization, ensuring the gown is exactly what you want. It can also be a cost-effective option and offers a deeply personal and rewarding experience. Plus, you’ll have a one-of-a-kind dress that’s truly yours.
Conclusion
There you have it—a comprehensive guide to making your own wedding dress. Whether you’re aiming for a simple, elegant gown or a detailed couture masterpiece, the journey is yours to shape. With careful planning, the right wedding dress patterns, and a bit of patience, you can create a dress that’s as unique as your love story. If you’re in the Philly area and need expert advice or assistance with your custom wedding dress, Philly Bride’s Custom Wedding Dresses is here to help! Whether you need help with fabric shopping, alterations, or adding those final touches, our team is ready to bring your dream dress to life. Book your appointment now.
Add Your Heading Text Here
Lorem ipsum dolor sit amet, consectetur adipiscing elit. Ut elit tellus, luctus nec ullamcorper mattis, pulvinar dapibus leo.Lorem ipsum dolor sit amet, consectetur adipiscing elit. Ut elit tellus, luctus nec ullamcorper mattis, pulvinar dapibus leo.Lorem ipsum dolor sit amet, consectetur adipiscing elit. Ut elit tellus, luctus nec ullamcorper mattis, pulvinar dapibus leo.Lorem ipsum dolor sit amet, consectetur adipiscing elit. Ut elit tellus, luctus nec ullamcorper mattis, pulvinar dapibus leo.Lorem ipsum dolor sit amet, consectetur adipiscing elit. Ut elit tellus, luctus nec ullamcorper mattis, pulvinar dapibus leo.Lorem ipsum dolor sit amet, consectetur adipiscing elit. Ut elit tellus, luctus nec ullamcorper mattis, pulvinar dapibus leo.Lorem ipsum dolor sit amet, consectetur adipiscing elit. Ut elit tellus, luctus nec ullamcorper mattis, pulvinar dapibus leo.Lorem ipsum dolor sit amet, consectetur adipiscing elit. Ut elit tellus, luctus nec ullamcorper mattis, pulvinar dapibus leo.Lorem ipsum dolor sit amet, consectetur adipiscing elit. Ut elit tellus, luctus nec ullamcorper mattis, pulvinar dapibus leo.Lorem ipsum dolor sit amet, consectetur adipiscing elit. Ut elit tellus, luctus nec ullamcorper mattis, pulvinar dapibus leo.Lorem ipsum dolor sit amet, consectetur adipiscing elit. Ut elit tellus, luctus nec ullamcorper mattis, pulvinar dapibus leo.Lorem ipsum dolor sit amet, consectetur adipiscing elit. Ut elit tellus, luctus nec ullamcorper mattis, pulvinar dapibus leo.Lorem ipsum dolor sit amet, consectetur adipiscing elit. Ut elit tellus, luctus nec ullamcorper mattis, pulvinar dapibus leo.
- List Item #1
- List Item #2
- List Item #3
- List Item #3
- List Item #3
- List Item #3
- List Item #3
- List Item #3
Leave a Reply